Monday, October 17, 2011

BOO! (and a tutorial on mod podge words)


BOO!! 
So, I have a giant blank wall that greats visitors as they come into my apartment. I try to keep it spruced up, and here is a little surprise that will great people until the 1st of November rolls around. 
It's super cute, and super inexpensive. 
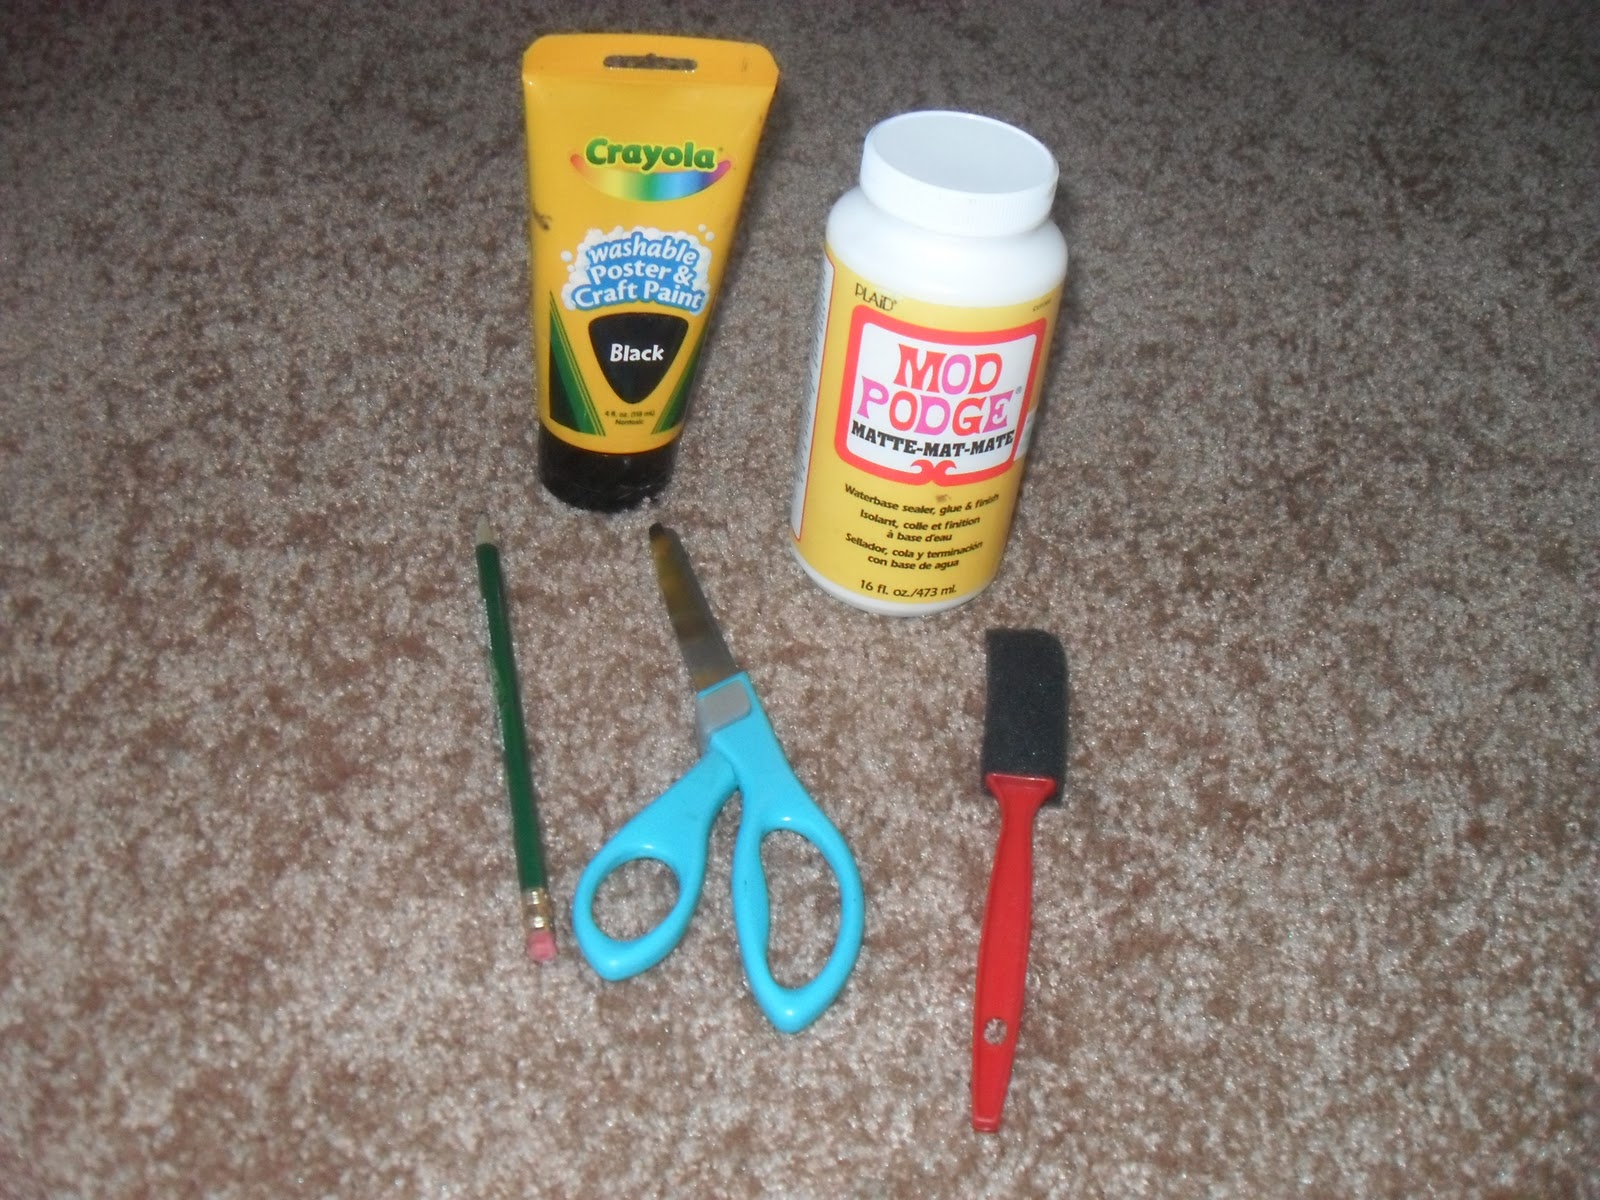
What You'll Need:
mod podge, paint, sponge brush, scissors, pencil
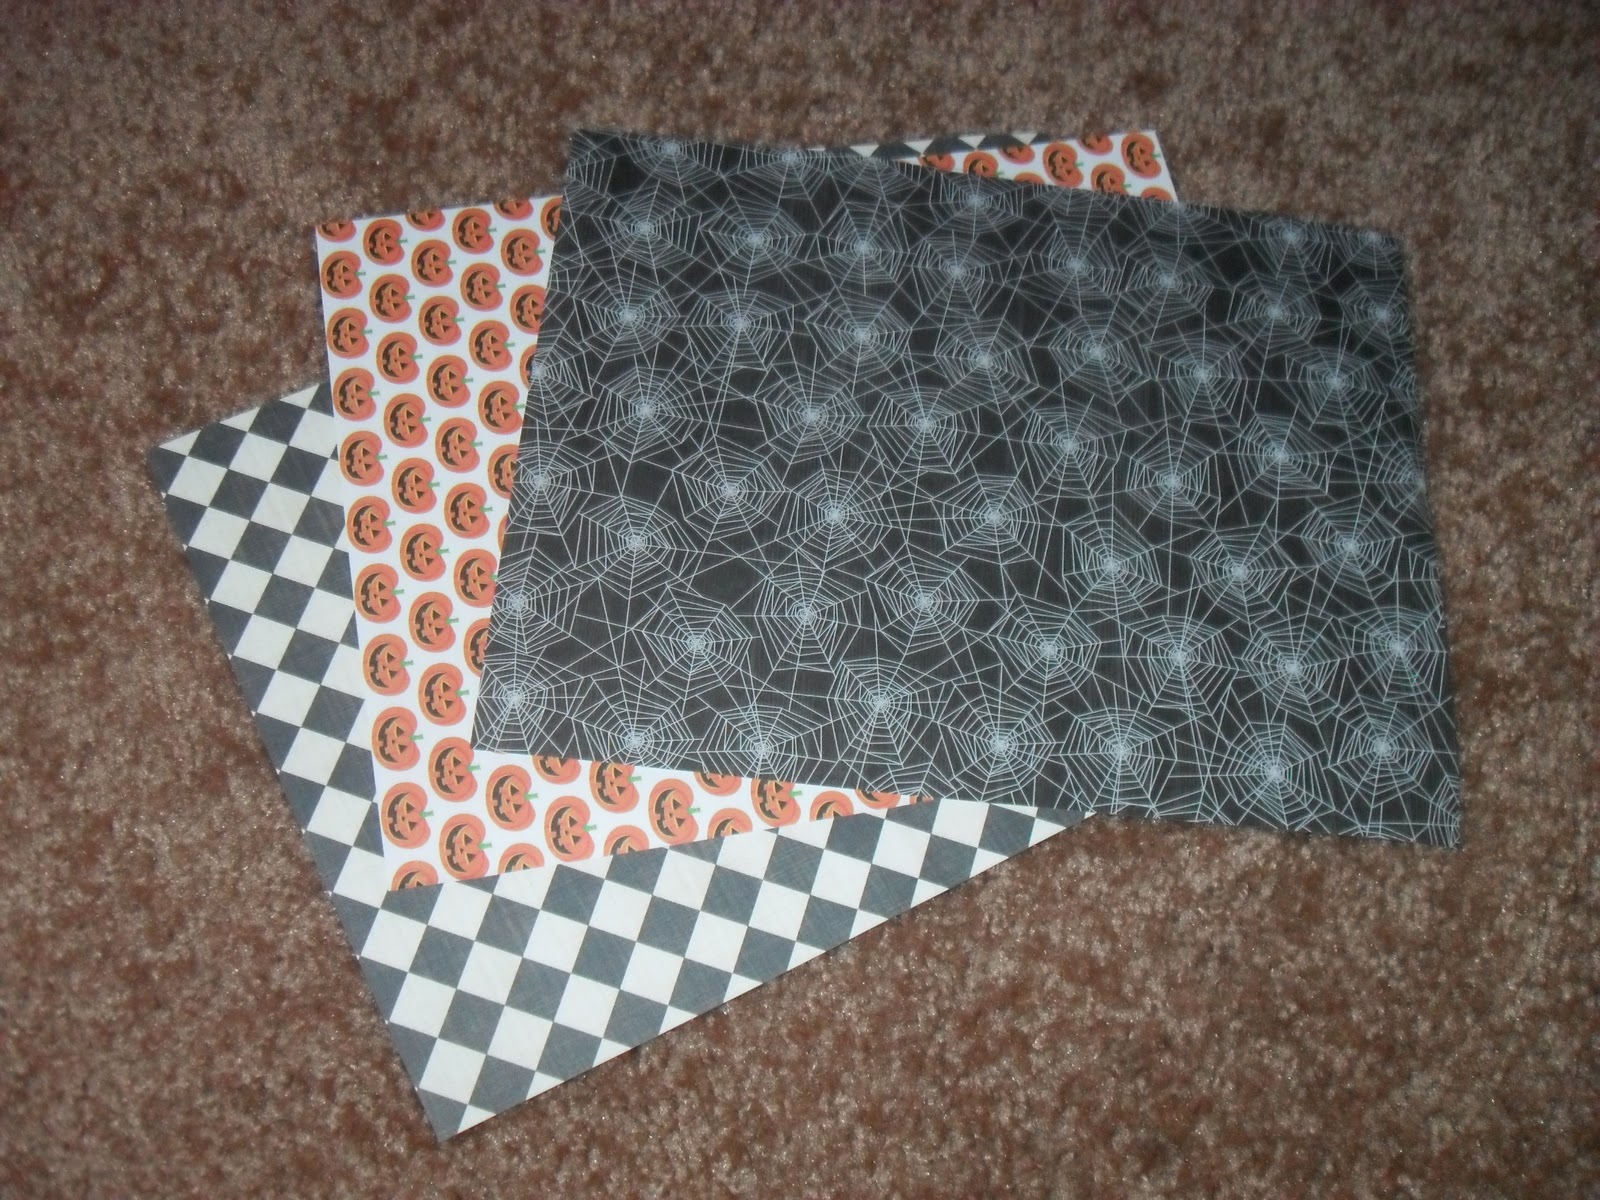
paper that will cover your letters
Letters from your local craft store. 
Paint around the outside edges, and the front of the letters. I chose black paint, but you can use whatever you want. 
let dry

To save money, I wash my brush out after painting, so I can reuse it for the mod podging. 
when paint it dry, trace around the letter, onto your paper. 
you can also trace the letter backward, onto the back of the paper. remember--- BACKWARDS IF ON THE BACK OF THE PAPER.
cut out the letters. I like to cut mine inside the traced line, so that the painted background can be seen in between the paper and the edge of the letter. 
apply a layer of mod podge to the letter. then place the paper on top. I use a credit card to press the paper down, and to eliminate any bubbles
Once that first layer is dry, apply a top coat on top of the paper. This keeps the edges from peeling, and gives it a nice  matte/gloss look, depending on your mod podge
ta da!
My original idea was to staple a ribbon down the back to connect the letters, but that was a bust since my ribbon scrap was too short. So, I got out the handy hot glue gun and glued my letters into a cascade. 
I decorated it additionally with a friendly spider, a black net web, and a ribbon. But really, anything goes:) 
 So there it is. BOO. And a tutorial on how to create mod podge words. 

Thursday, September 1, 2011

Neutral Wreath

Here we go with my first tutorial. I got the idea for this wreath from that addictive site called pinterest, and with a few minor adjustments made it my own. So, you will need the following materials:
fabric of your choice/color. Originally the idea was to use burlap, but I didn't want to use such a coarse fabric when I knew I would have a ton of cutting to do, so I chose this fabric that was similar in look, but has a much softer feel. I found it by the batting at my local Hobby Lobby. (And my cat immediately took cover in the new 'cave') 
A Styrofoam ring. Again, I found this for way cheap on sale at my local Hobby Lobby 
hundreds of straight pins, preferably without the colored ends. 
Put on your favorite movie, because this is a long and tedious process, which is made more enjoyable by being distracted. I love this movie- 500 days of summer. I've seen it so many times I don't have to be watching the screen all the time to know what is happening:)
Cut the fabric into strips, and then cut the strips into squares. It doesn't have to be perfect or scientific, just start cutting. 

fold the square into a triangle, and then fold the triangle in half. Pin the bottom corner into the foam circle. 
And just keep pinning. You can make it as tight or loose as you choose, but make sure no white shows through. 
My assistant does not look amused, or interested in the movie. 
I forgot to take a picture of the loop to hang the wreath by. I used some of my left over fabric, cut it into strips, which I braided, then I pinned that braided loop to the back side of my wreath. Does that make sense? You can also use ribbon or twine, or any other hang-able material. Using pins to attach it to the back means you can swap out colors for different seasons if you would like.

The finished product! You can add pops of color by adding accent fabric pieces into the wreath, or hanging some trinket in the center. I pinned a hair clip just to show an example of what is possible. A tutorial of how to make that hair piece is coming soon.